Index
- Installing selenium webdriver on macOS PATH
2.1 Download
2.2 Setting up the environment variables
1. How selenium works
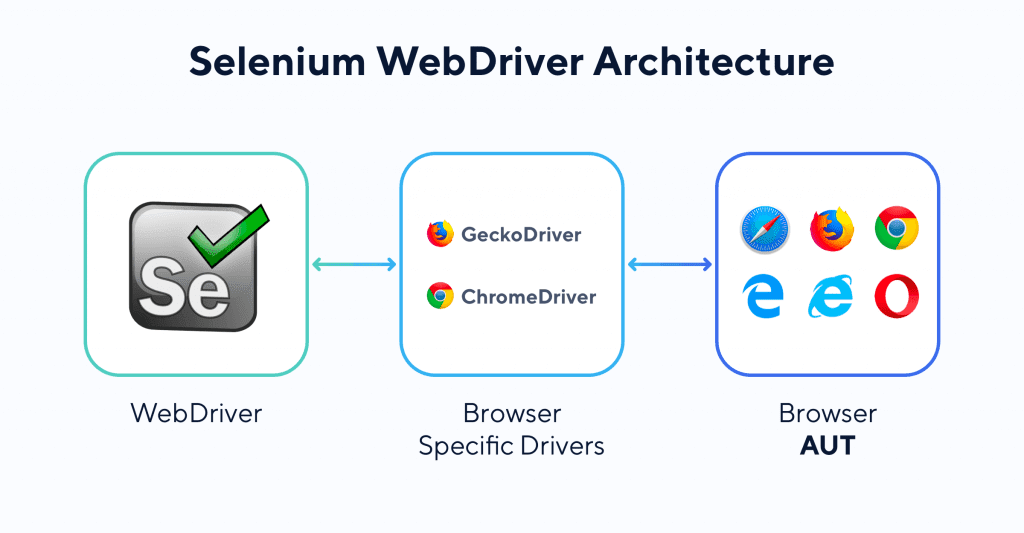
Selenium webdriver is a free open source programming package for automating interactions with a live browser.
It needs a proxy server to connect with live browsers, in other words, you can code the selenium instructions in many languages (Java, Python, C#), these instructions will instantiate a WebDriver (ChromeDriver, GeckoDriver) that will interact with the browser (Google Chrome, Firefox).

2. Installing selenium webdriver on macOS PATH
2.1 Download
In this tutorial we will use the chromedriver (for Chrome), it will be installed in the macOS system path, and not inside the project folder as usual in many other projects.
Download the latest stable release of chromedriver from the link below:
https://chromedriver.chromium.org/home

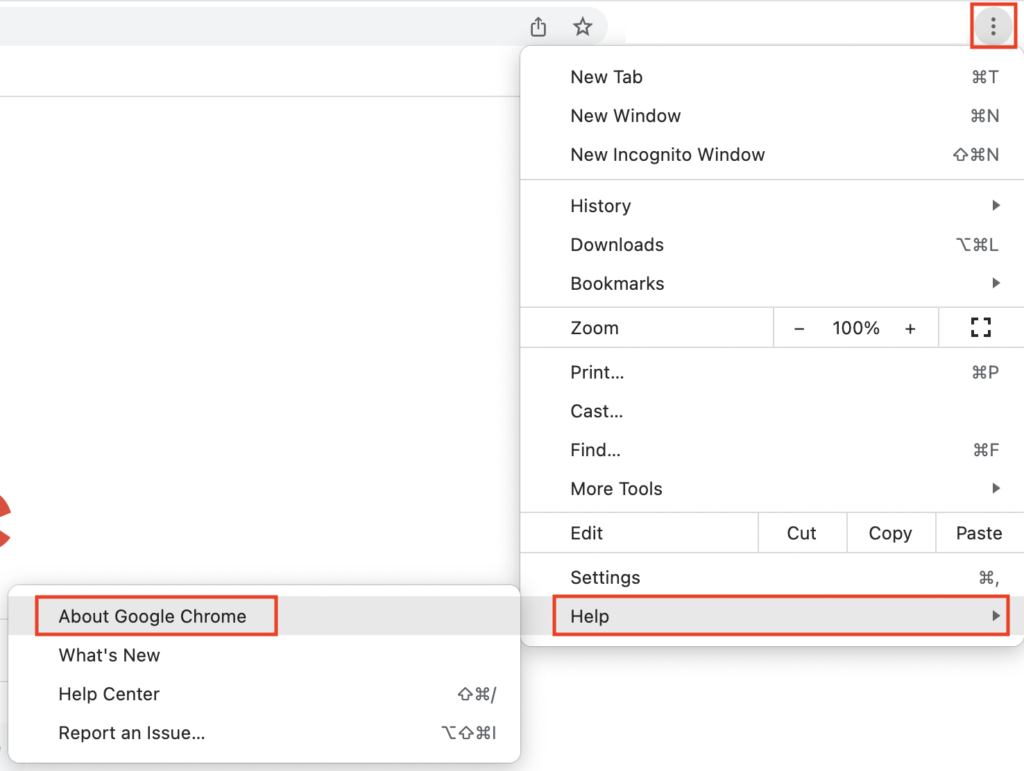
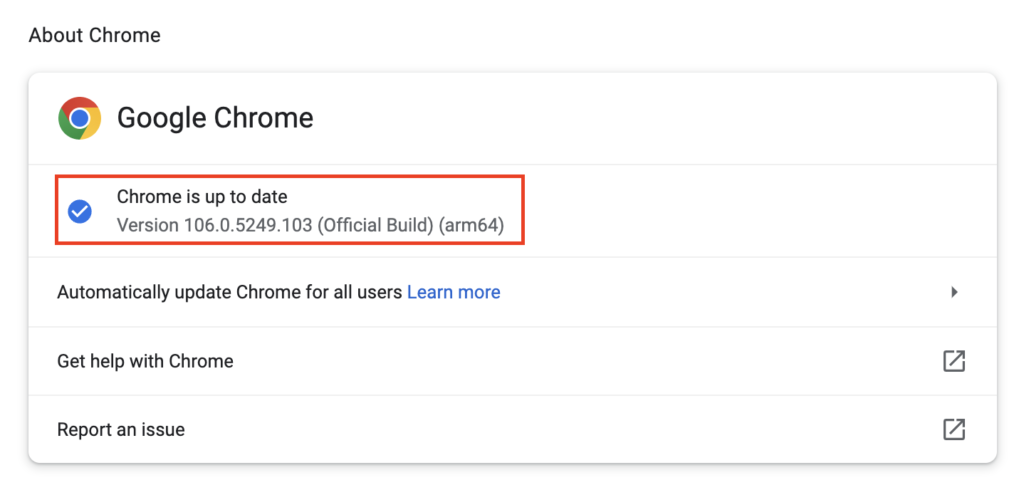
It’s important that the chromedriver has the same chrome version installed on your machine.


Extract the executable you downloaded into the folder “Documents/webdrivers”.
2.2 Setting up the environment variables
Open the macOS terminal and run the command below.
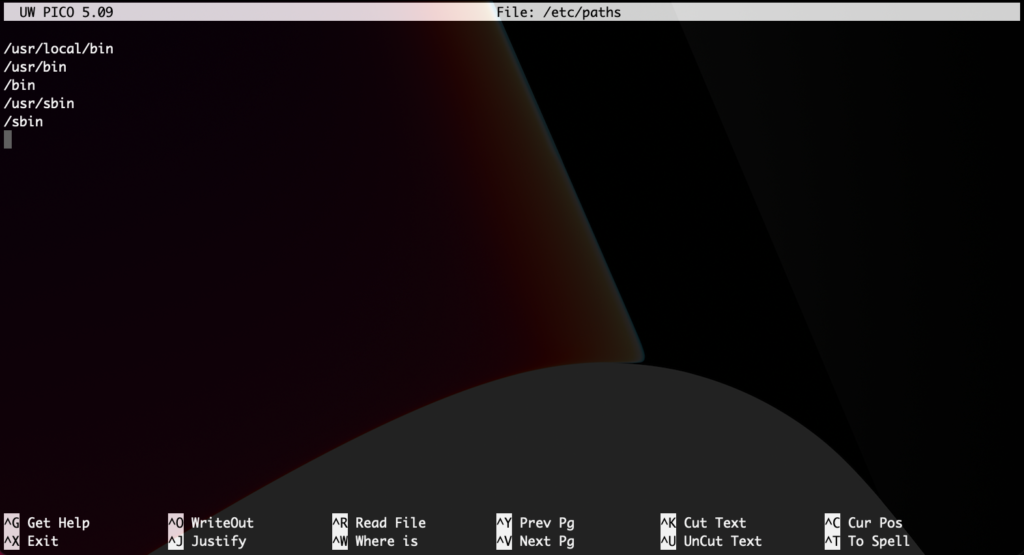
sudo nano /etc/pathsAfter inserting the admin password you will see this screen, here’s where you will write the PATH to the webdriver directory.

In my case I wrote “/Users/{username}/Documents/webdrivers”.

Press “controlˆ” and “X”, then confirm with “Y” and press the “return” button.
Open a new terminal and run.
echo $PATHThe directory where the “webdrivers” are located were added to the macOS path.

3. Conclusion
Open a new terminal and run the command.
chromedriver --versionThe system will show the chromedriver version you installed.

PS: If this doesn’t work, close the terminal and start a new one.
PS2: If the command “chromedriver –version” throws an error message, then you should go to the webdriver folder and open the “chromedriver” by clicking twice in it, after the message below is shown you can close the terminal, open a new one and run the command “chromedriver –version” again.

The end.
